Create and Manage Pins
Pins show action points at specific geographic locations. Community Partner Agencies, such as Fire & Rescue or Law Enforcement, can be assigned to a Pin, and supplemental information can be added. Custom Pins can easily be created to fit your needs.
In this article, we will explain:
- How to access Pins available in your Portal
- How to create custom Pins
- How to edit a Pin
- How to delete a Pin
ACCESS PINS AVAILABLE IN YOUR PORTAL
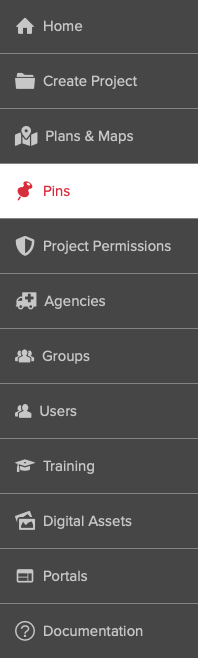
To access the Pins available in your Portal, select Pins (Fig. 1) from the menu on the left side of any page.
CREATE CUSTOM PINS
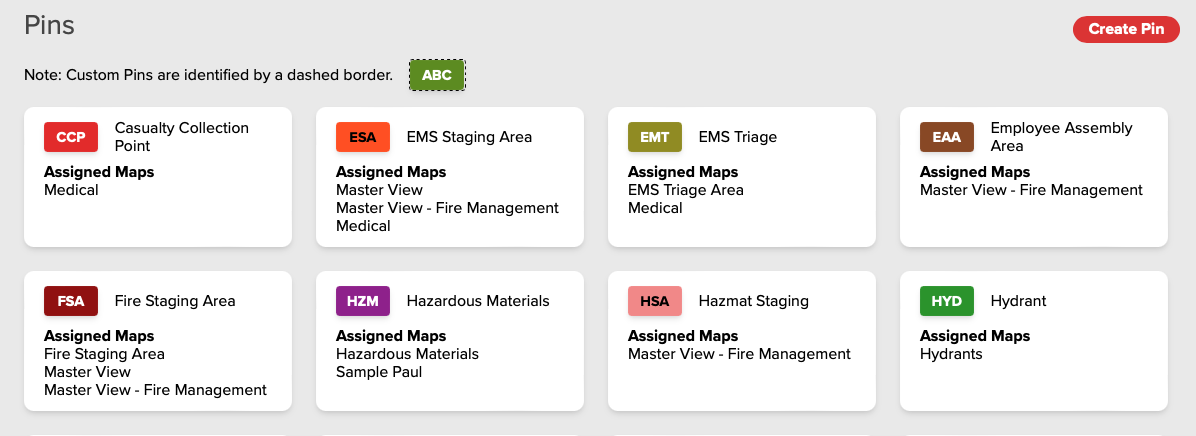
To create a custom Pin, click on the Create Pin button near the upper-right corner of the Pins screen (Fig. 2).
On the Edit Pin screen (Fig. 3):
- Enter the Name of the Pin (minimum 4 characters)
- Enter the Initials for the Pin that will appear on its informational Flag as see on Maps (maximum 3 characters)
- Select the preferred Color for the Pin
When done, click the Save button.

EDIT A PIN
Not all Pins can be modified. The default Pins that are not modifiable are displayed with a solid border. User-modifiable Pins are displayed with a dashed border.
To edit a Pin, click it to access the Edit Pin screen (Fig. 3, above) and modify the Name, Initials, Color and Map Assignment as needed.
When done, click the Save button.
DELETE A PIN
To delete a Pin, click on it to access the Edit a Pin screen (Fig. 3, above) and click the Delete button in the lower-right corner of the screen.