Create and Manage Tactical Worksheets
The Tactical Worksheet feature will allow you to create a checklist for the command post identifying critical tasks that must be completed.
In this article, we will explain:
- How to add a task to the Tactical Worksheet in your Plan
- How to edit a task on a Tactical Worksheet
- How to delete a task from a Tactical Worksheet
ADD A TACTICAL WORKSHEET AND TASKS TO YOUR PLAN
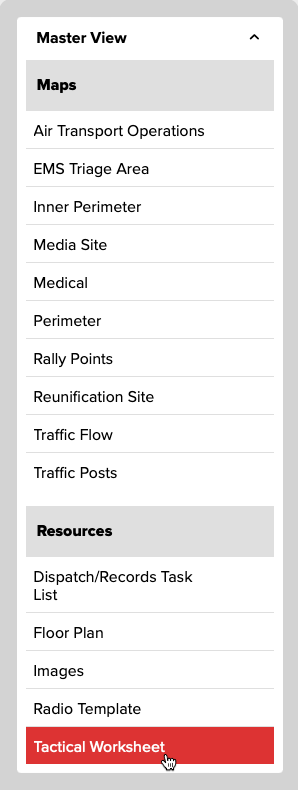
To add a Tactical Worksheet to your Plan, navigate to your desired Plan and click the Master View menu near the upper-right corner of the screen to expand it, then click the Tactical Worksheet menu item (Fig. 1) under the Resources section.
The Tactical Worksheet screen will initially be empty (Fig. 2).
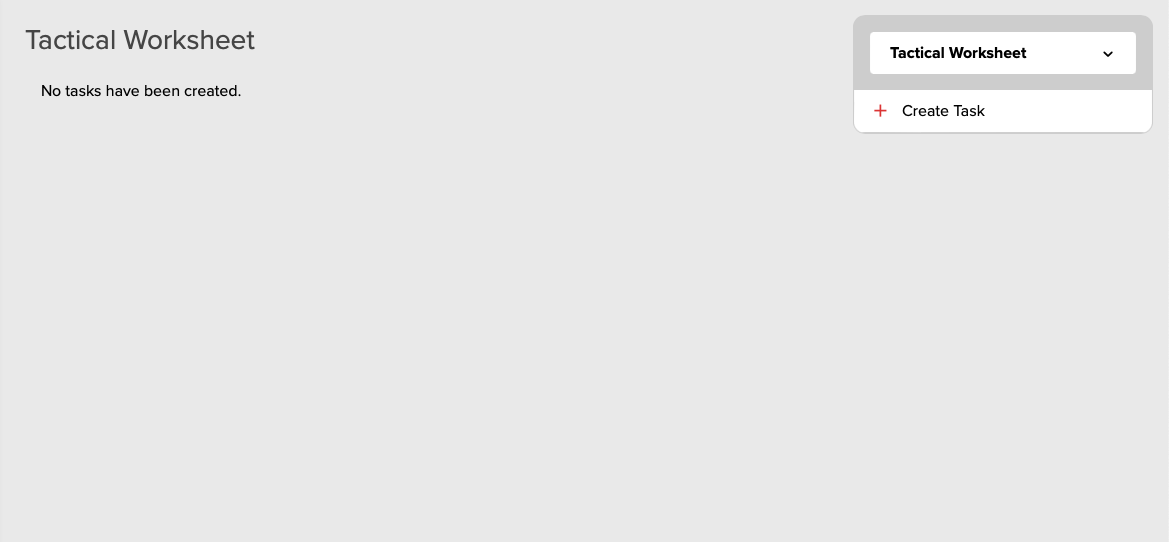
To add a task, click the Create Task button (Fig. 2, above) near the top-right corner of the screen. The Task edit screen will be displayed (Fig. 3).
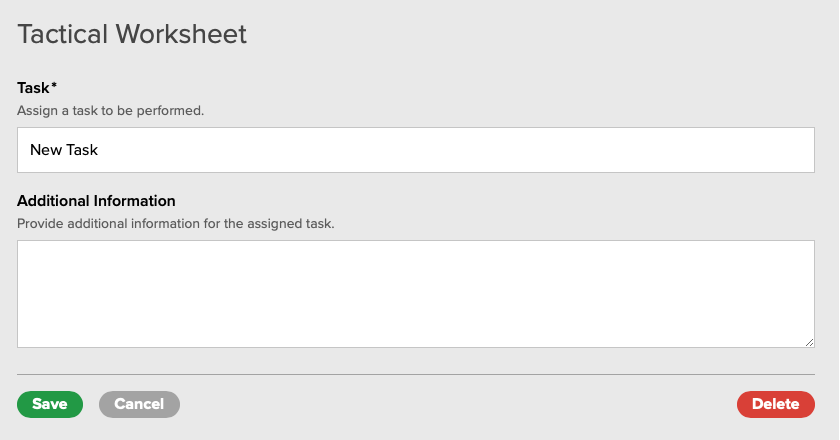
Enter the Task Name and Additional Information (which will be displayed in a Plan's PDF worksheet) in the labeled fields (Fig. 3, above). Click the Save button when done.
EDIT A TASK IN A TACTICAL WORKSHEET
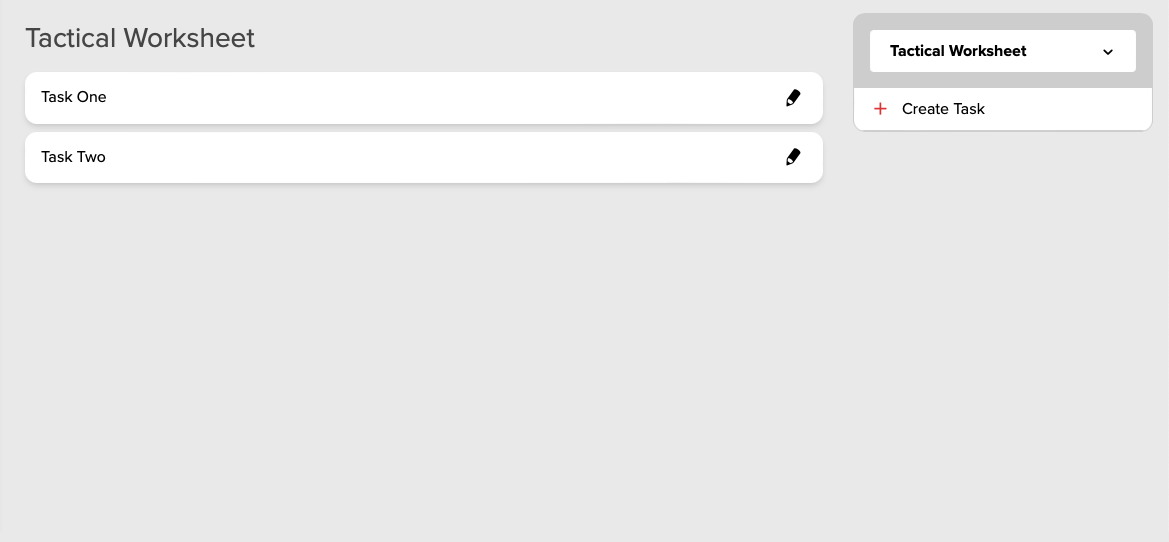
After a Task has been created, it can be edited. To begin, click the name of a Task on the Tactical Worksheet screen (Fig. 4) and the Task edit (Fig. 3, above) screen will be displayed.
Modify the fields as needed and click the Save button when complete.
DELETE A TASK FROM A TACTICAL WORKSHEET
To Delete a Task, first click its name on the Radio Template screen (Fig. 4, above).
After clicking a Task, the Task edit screen (Fig. 3, above) will be displayed.
Click the Delete button near the lower-right corner of the screen and then confirm deletion.