Create and Manage Perimeters
The Perimeter feature allows you to draw boundaries around a geographic location or facility. The Perimeter's color can be customized, and Additional information to be shared with collaborators and reviewers in the Plan's PDF worksheet can be included.
In this article, we will explain:
- How to add a Perimeter to your Plan
- How to edit a Perimeter
- How to delete a Perimeter
ADD A PERIMETER TO YOUR PLAN
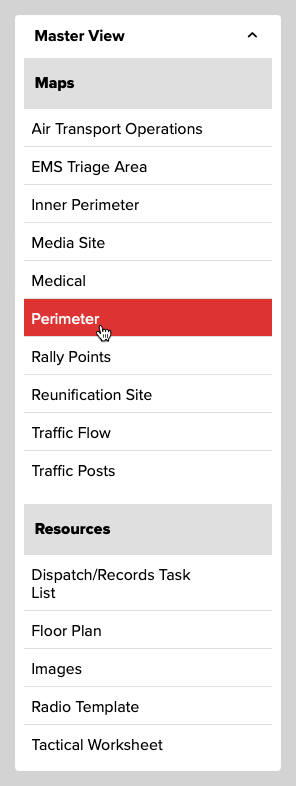
To add a Perimeter to your Plan, navigate to your desired Plan and click the Master View menu near the upper-right corner of the screen to expand it, then click the Perimeter menu item (Fig. 1) under the Maps section.
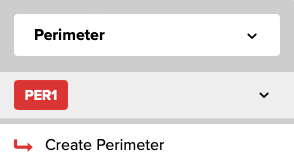
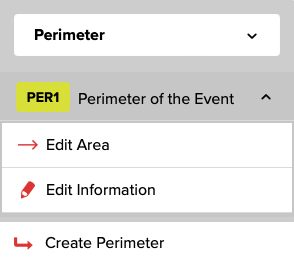
The Perimeter menu will then be displayed toward the right of your screen (Fig. 2). To begin, click the Create Perimeter option.
A new Perimeter (PER1) will be created. Click on its name to expose the Edit Area and Edit Information options (Fig. 3.).
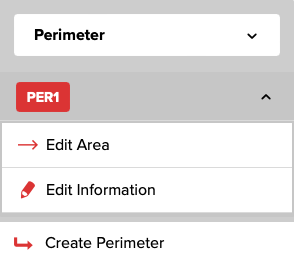
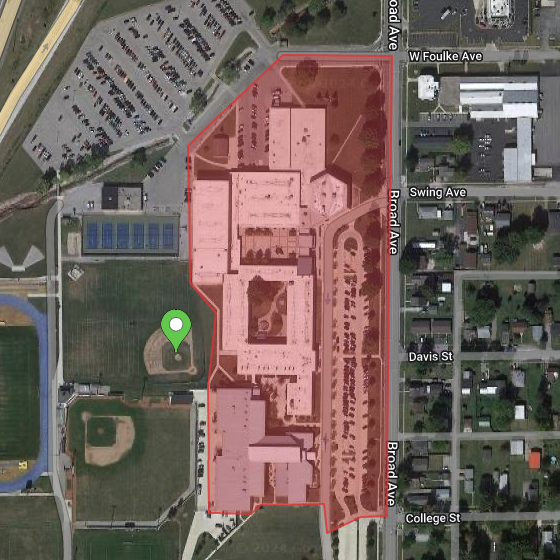
Click the Edit Area link in the Perimeter menu (Fig. 3, above), then click on the location within the Map (Fig. 4) where the Perimeter should begin. Each subsequent click on the map will add a point and extend your Perimeter. To move an existing point, click + hold on it to move it to the new location, then release the button. To remove a point, right-click or option-click it.
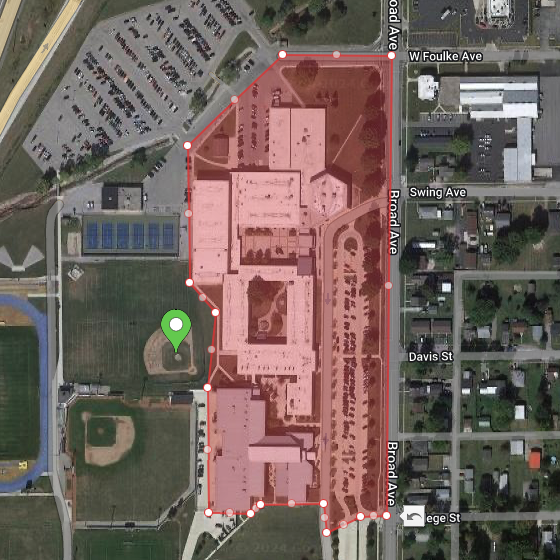
When your Perimeter is complete, click the Save Area link in the Perimeter menu (Fig 6).

After editing, the Perimeter handles will no longer be displayed (Fig 6).
EDIT A PERIMETER
To edit an existing Perimeter, click its name in the Perimeter menu (Fig. 7) and the Edit Perimeter screen will be displayed (Fig. 8).
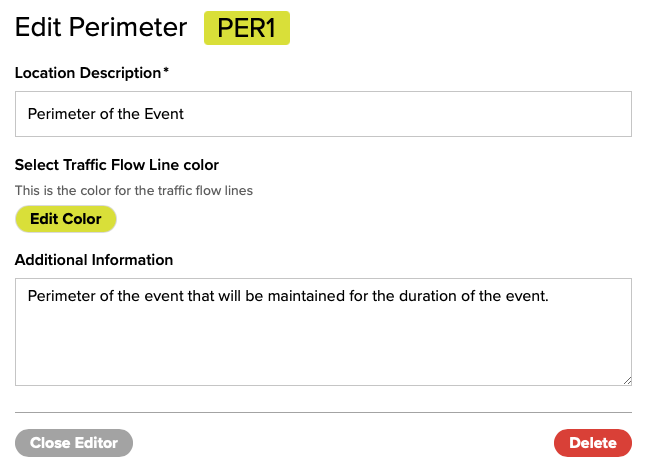
Enter a Location Description, edit the Color, and enter Additional Information. Click Save when done.
DELETE A TRAFFIC FLOW
To delete an existing Perimeter, click its name in the Perimeter menu (Fig. 8, above) and the Edit Perimeter screen will be displayed (Fig. 8, above).
Click the Delete button near the bottom right and confirm deletion.