Manage Users
Administrators can easily invite, edit and delete Users in the StrataSite™ portal.
In this article, we will explain:
- How to access the Users screen
- How to invite Users
- How to edit a User's information, role, group and project assignments
- How to resend a Welcome Email to a new User
- How to view the portal as a User with a different role would see it (Preview User)
- How to delete a User
ACCESS THE USERS SCREEN
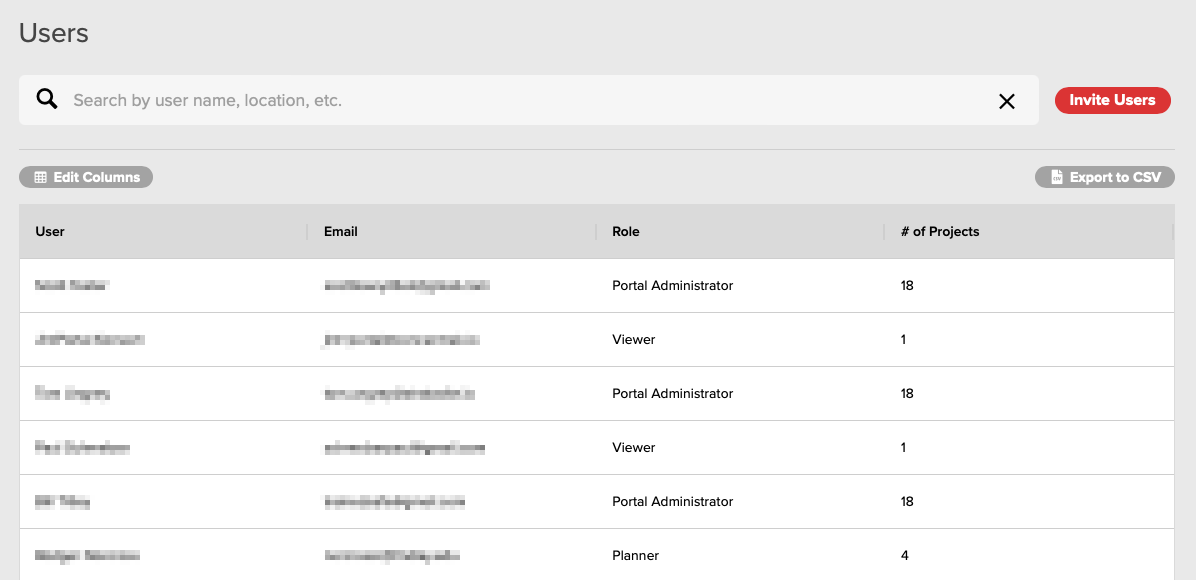
To access the Users screen (Fig. 2), select Users from the menu (Fig. 1) on the left side of any page.
INVITE USERS
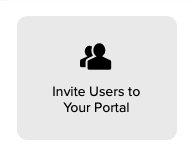
The Invite Users screen (Fig. 4) can be accessed either by clicking the Invite Users button near the top-right of the Users screen (Fig. 2, above), or by clicking the Invite Users to Your Portal quick link (Fig. 3) at the top of your home page.
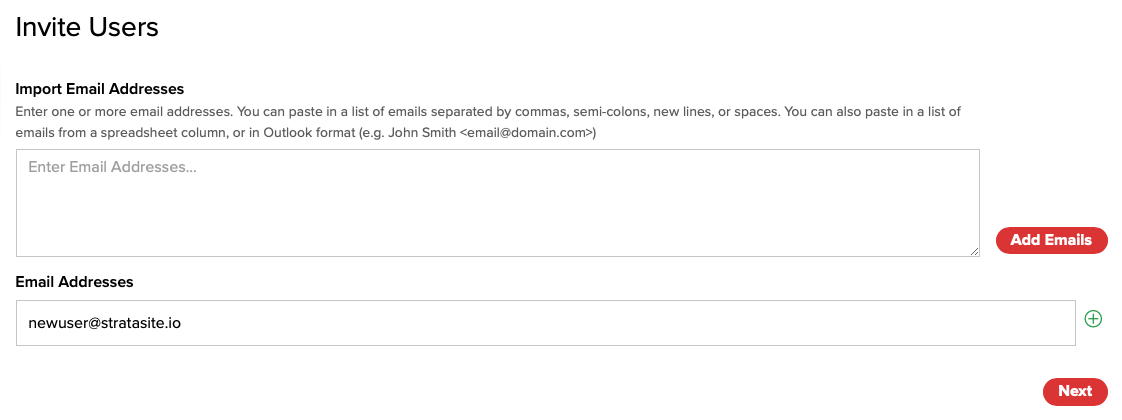
To invite Users, simply type or paste one or more email addresses in the field on the Invite Users screen (Fig. 4, above). Email addresses in a list can be separated by commas, semi-colons, spaces or line breaks. Click the Next button near the lower-right corner of the screen to continue.
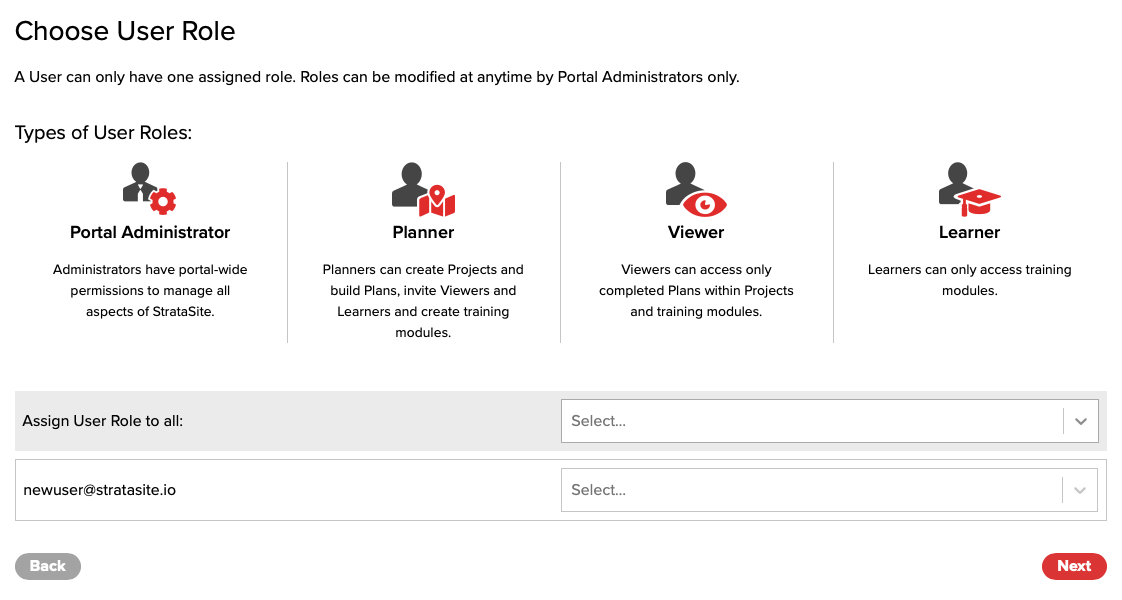
The next screen — Choose User Role (Fig. 5, above) — allows you to assign a Role to each new User. If you would like all of the new Users to have the same Role, use the Assign User Role to all pop-up menu and select Portal Administrator, Planner, Viewer or Learner. To assign individual roles to each new User, use the pop-up menu adjacent to each email address in the list. Click the Next button near the lower-right corner of the screen to continue.
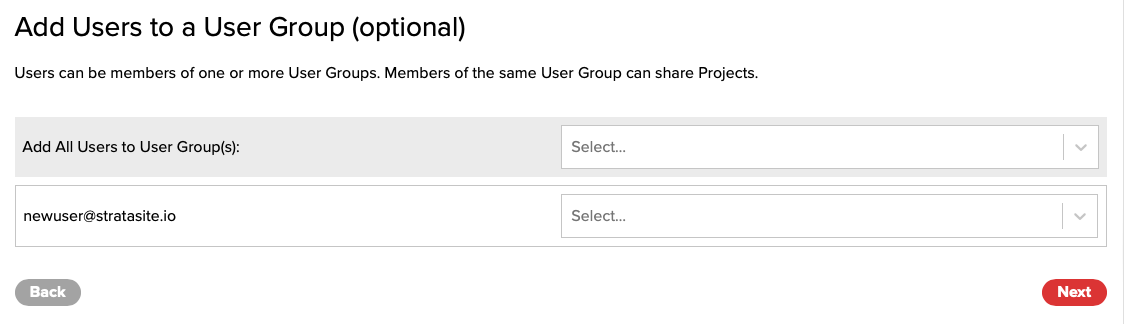
The next screen — Add Users to a User Group (Fig. 6, above) — allows you to add new Users to any existing Groups. If you would like all of the new Users to be assigned to the same Groups, use the Add All Users to User Group(s) pop-up menu. More than one Group can be selected. To assign different Groups to each new User, use the pop-up menu adjacent to each email address in the list. Click the Next button near the lower-right corner of the screen to continue.
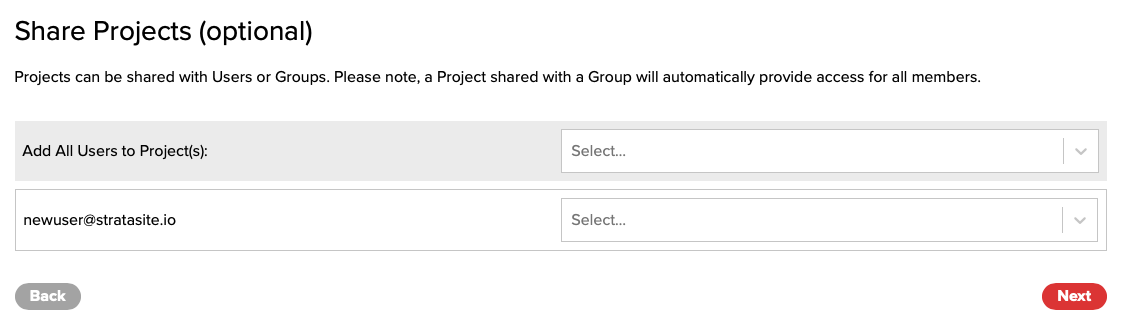
The Share Projects screen (Fig. 7, above) allows you to add new Users to any existing Projects. If you would like all of the new Users to be assigned to the same Projects, use the Add All Users to Project(s) pop-up menu. More than one Project can be selected. To assign different Projects to each new User, use the pop-up menu adjacent to each email address in the list. Click the Next button near the lower-right corner of the screen to continue.
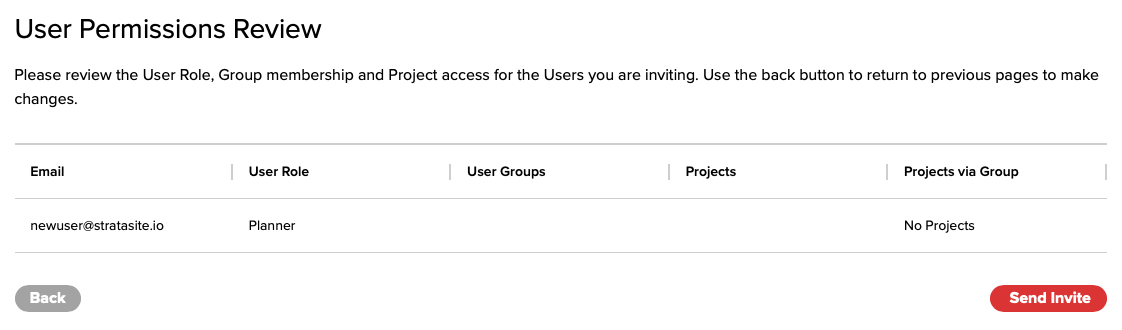
The final screen is User Permissions Review (Fig. 8, above). It summarizes the Roles, Groups and Project assignments made in the previous steps. If any revisions need to be made, click the Back button. If all assignments are correct, click the Send Invite button to conclude.
EDIT A USER
To edit a User, navigate to the Users screen (Fig. 2, above) as explained at the beginning of this article.
Click any User's name to display the Edit User screen (Fig. 9). If your list of Users is long, you can click in the field next to the magnifying glass and begin typing a name to filter the list so it is easier to find the User.
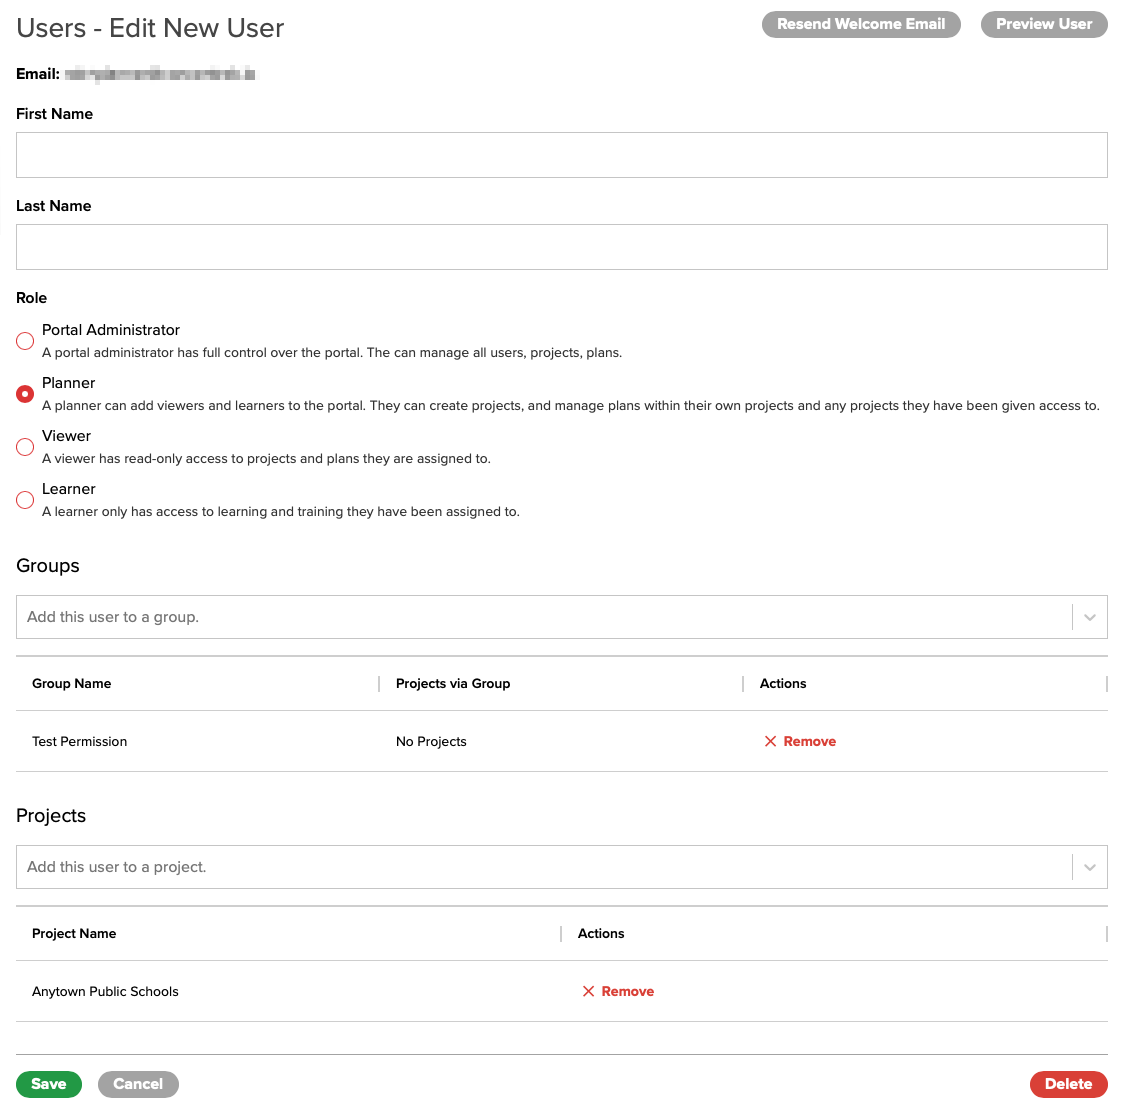
On the Edit User screen, the following can be updated:
Once edits are complete, click the Save button near the lower-left corner of the screen.
RESEND WELCOME EMAIL
In the event that a newly invited User is unable to locate the Welcome Email that was sent, administrators have the ability to re-send it.
Navigate to the Users screen (Fig. 2, above) as explained at the beginning of this article.
Click the User's name to display the Edit User screen (Fig. 9, above), then click the Resend Welcome Email button near the upper-right corner of the screen.
NOTE: If a User has already created an account, the Resend Welcome Email button will not be displayed.
PREVIEW USER
At times it can be helpful for an administrator to view the portal as a User with a different role would see it. To Preview a User, navigate to the Users screen (Fig. 2, above) as explained at the beginning of this article. Click any User's name to display the Edit User screen (Fig. 9, above). Click the Preview User button near the top-right of the screen. The portal will then appear as that specific User would see it, and a ribbon will be displayed at the top of the window as a reminder (Fig. 10).

To stop previewing the portal as that User, click the Stop Preview button toward the right of the ribbon (Fig. 10, above).
DELETE A USER
To permanently delete a User, navigate to the Users screen (Fig. 2, above) as explained at the beginning of this article. Click any User's name to display the Edit User screen (Fig. 9, above). Click the Delete button near the lower-right corner of the screen, then confirm the delete.