Create and Manage Traffic Posts
The Traffic Post feature allows you to overlay Pins on a Map to indicate the location of barricades or personnel for the diversion of traffic near a facility. You can include a post number, location and units assigned as well as provide additional information that can be shared with plan collaborators and reviewers in the Plan's PDF Worksheet.
In this article, we will explain:
- How to add a Traffic Post to your Plan
- How to edit a Traffic Post
- How to move a Traffic Post
- How to delete a Traffic Post
ADD A TRAFFIC POST TO YOUR PLAN
To add Traffic Posts to a Plan, navigate to your desired Plan and click the Master View menu near the upper-right corner of the screen to expand it, then click the Traffic Posts menu item (Fig. 1) under the Maps section.
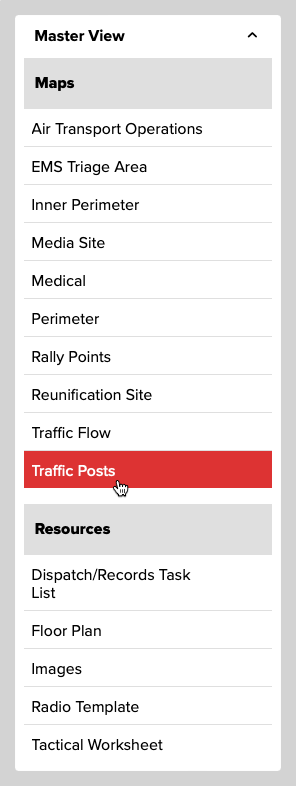
The Traffic Posts menu will then be displayed (Fig. 2).
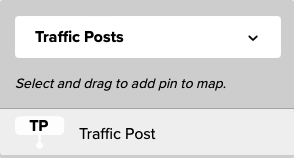
To add a Traffic Post to a Plan's Map, simply drag its icon from the menu (Fig. 2, above) directly onto the Map and drop it into position.
EDIT A TRAFFIC POST
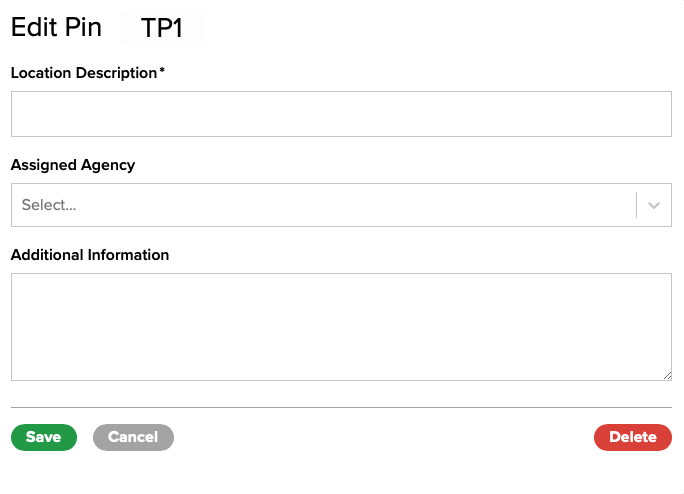
To edit a Traffic Post, click it on its informational Flag to display the Edit Pin screen (Fig. 3). Enter a Location Description, select the Assigned Agency and enter Additional Information. Click Save when done.
MOVE A TRAFFIC POST
Both Traffic Posts and their informational Flags can be moved anywhere on the main section of the Map. For example, you may need to place a Traffic Post and then move its Flag out of the way so a detail (such as a particular buidling) on the map is still visible to users.
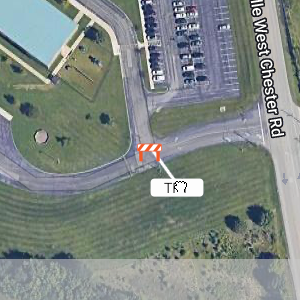
To move a Traffic Post, move your mouse cursor over it and click and hold (Fig. 4) — the pin can then be dragged to any location on the map. Release the mouse button after reaching the desired position to drop the Traffic Post.

To move a Traffic Post's informational Flag, move your mouse cursor over it and click and hold (FIg. 5) — the Flag can then be dragged to any location on the map. Release the mouse button after reaching the desired position to drop the Flag.
DELETE A TRAFFIC POST
To delete a Traffic Post, click it on its informational Flag to display the Edit Pin screen (Fig. 3, above). Click the Delete button and then confirm.