Create and Manage Maps
When creating your Plans, you will first select a Map. A Map is similar to a template and each Map has a collection of Pins to meet an objective. In the portal, you can select from a list of available Maps or easily create custom Maps.
In this article, we will explain:
- How to access the Maps available in your portal
- How to create custom Maps
- How to edit a Map
- How to delete a Map
ACCESS THE MAPS AVAILABLE IN YOUR PORTAL
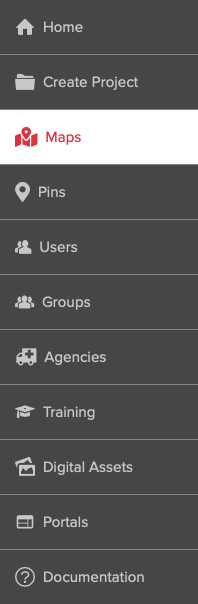
To access the Maps available in your portal, select Maps (Fig. 1) from the menu on the left side of any page.
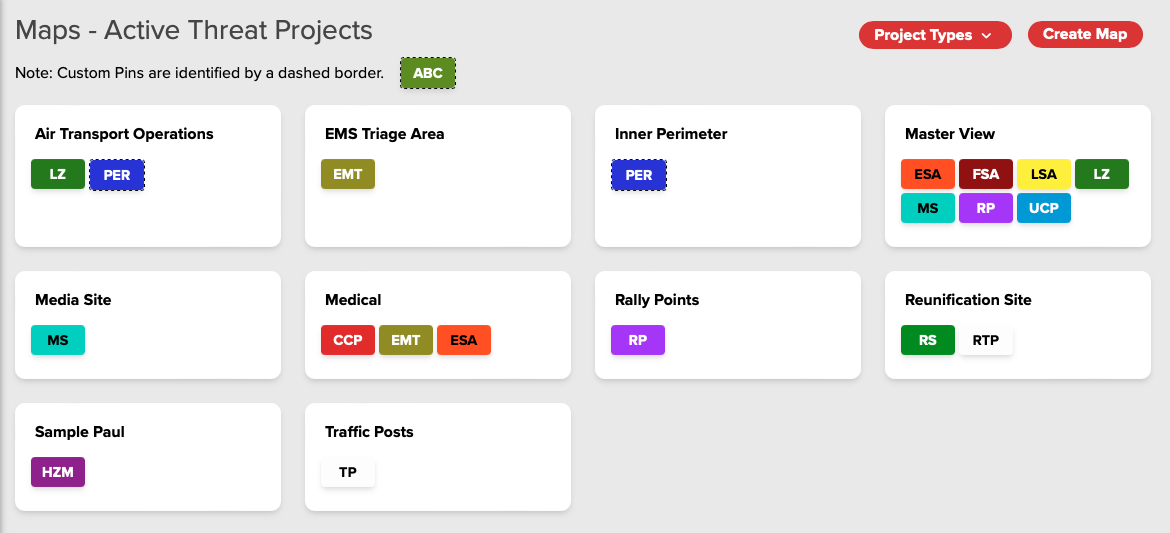
To view the Maps associated with each type of Project, select a Project Type from the Project Types pop-up button near the top-right of the screen (Fig. 2). For example, select Incident Action Plan (formerly known as Active Threat Plan) to view the Maps available for an Incident Action Plan Project.
CREATE CUSTOM MAPS
To create a custom Map, click the Create Map button (Fig. 2, above) near the top-right corner of the screen.
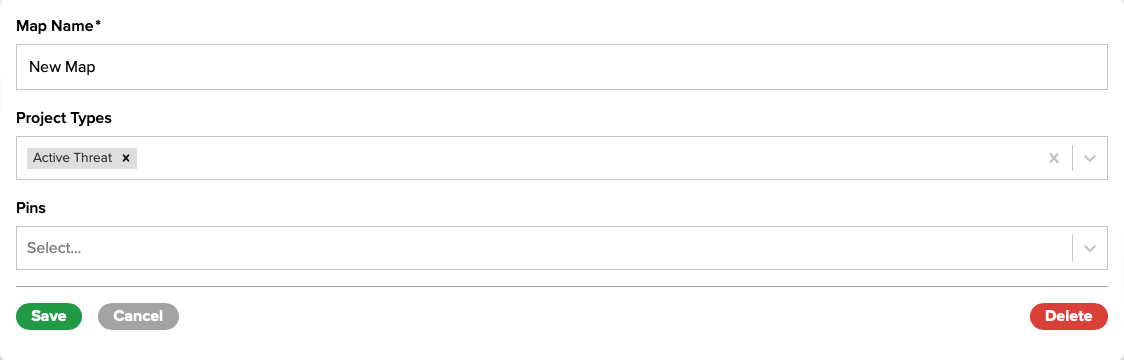
From the Create Map screen (Fig. 3):
- Enter the Map Name
- Select the Project Type(s) that the Map will be used with
- Select the Pins that are allowed to be used with this Map
When done, click the Save button.
EDIT A MAP
To edit a Map, click on a Map to access the Edit Map screen (Fig. 3, above) and modify the Map Name, Project Types and Pins as needed.
Click the Save button when done.
DELETE A MAP
To delete a Map, click on a Map to access the Edit Map screen (Fig. 3, above) and click the Delete button near the lower-right corner of the screen.