Edit or Delete a Project
In the StrataSite™ Portal, administrators can easily edit or delete a Project.
In this article, we will explain:
- How to edit a Project Name
- How to Assign Agencies to a Project
- How to Change the Owner of a Project
- How to Share a Project with Users or Groups
- How to Delete a Project
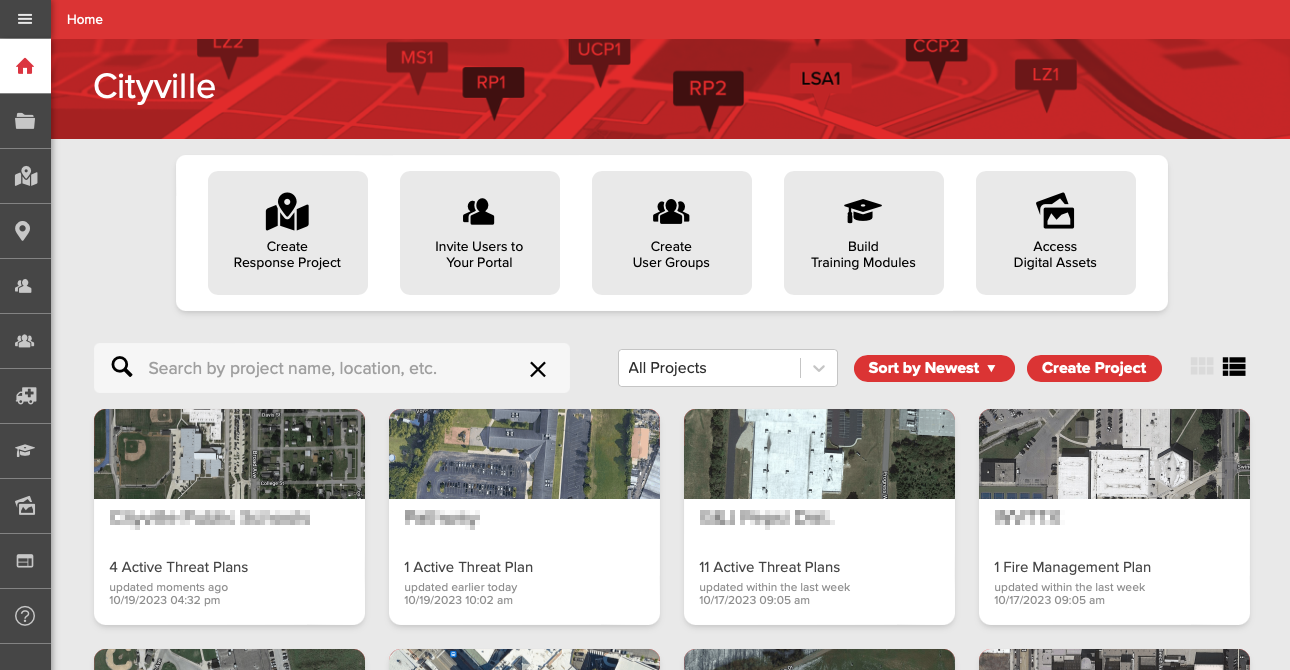
To manage a Project, click on the Project from your Portal Landing Screen (Fig. 1).
On the Project screen, click the Manage Project button (Fig. 2) near the upper-right corner of the screen and the Manage Project menu will be displayed.
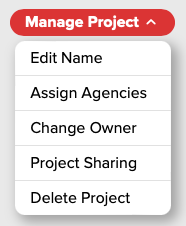
From the Manage Project menu (Fig. 2), you can can select Edit Name, Assign Agencies, Change Owner, Project Sharing or Delete Project.
EDIT NAME
After selecting Edit Name from the Manage Project menu, the Edit Project Name screen will appear (Fig. 3).

Type the new Project Name in the available field and click the Save button when done, or click Cancel if choosing not to save your edits.
ASSIGN AGENCIES
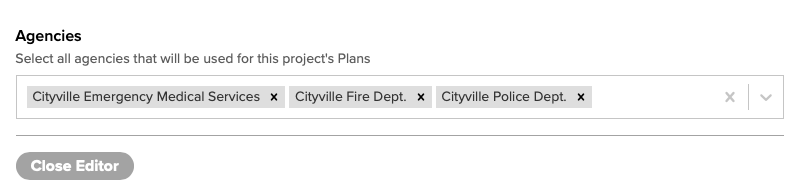
After selecting Assign Agencies from the Manage Project menu, the Assign Agencies screen will appear (Fig. 4).
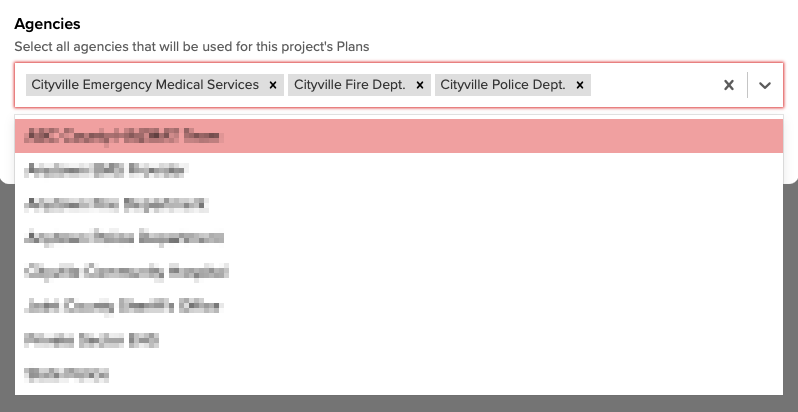
Clicking anywhere in the main field will cause a pop-up menu to be displayed under the field with the Agencies that are available to be assigned (Fig. 5). More than one can be assigned.
Click the Close Editor button when done.
To learn more about Agencies, visit the Manage Agencies article.
CHANGE OWNER
After selecting Change Owner from the Manage Project menu, the first Change Project Owner screen will appear (Fig. 6).
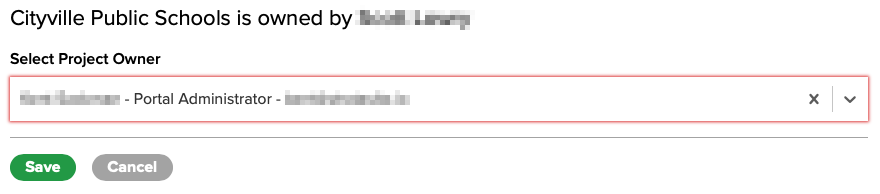
Clicking anywhere in the main field will cause a pop-up menu to be displayed under the field with the Portal Administrators that are available to be assigned.
Click the Save or Cancel (to disregard changes) button when done.
SHARE A PROJECT
A Project can be shared with individual Users or predefined Groups of Users. A User's Role will determine what they are allowed do within the Project.
To Share a Project, on any Project screen click the Manage Project button (Fig. 2., above) near the upper-right corner of the screen and the Manage Project menu will be displayed.
From the Manage Project menu, select Share Project and the Project Sharing screen (Fig. 7) will be displayed.
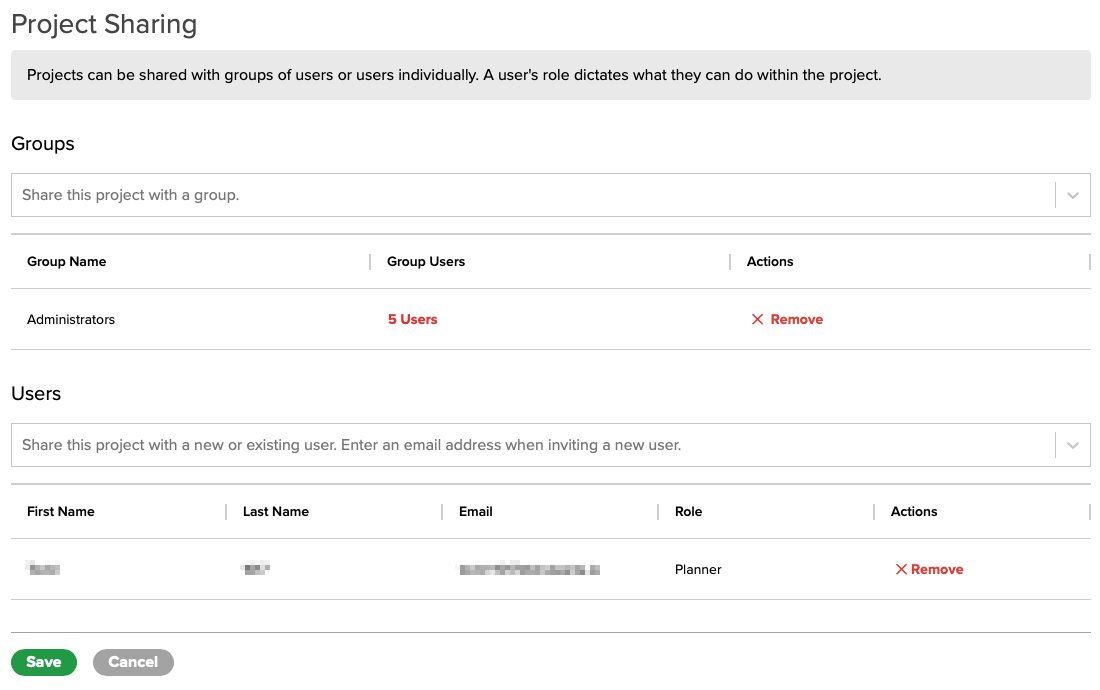
To remove access for any assigned Group or User, simply click the Remove button across from that Group or Users's name in the list.
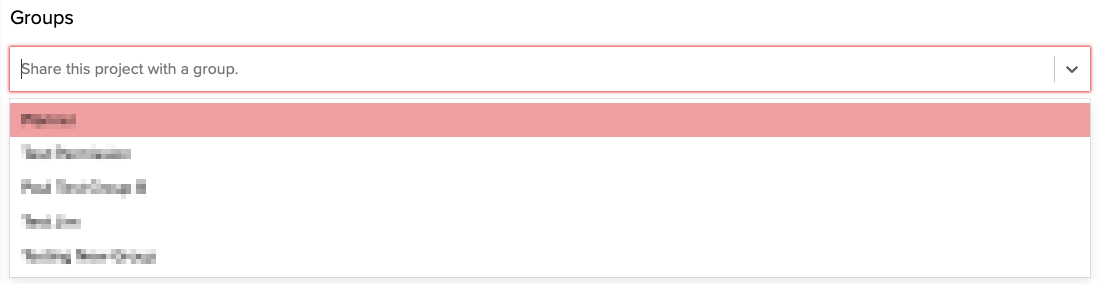
To Share the Project with a new Group, click the field directly below Groups and a list of Groups available to be assigned will be displayed (Fig. 8). More than one can be selected.
To Share the Project with a new User, click the field directly below Users and a list of Users available to be assigned will be displayed (Fig. 9). More than one can be selected.

Click the Save or Cancel (to disregard changes) button when done.
DELETE A PROJECT
NOTE: When deleting a Project, you will delete all Plans associated with the Project.
To Delete a Project, on any Project screen click the Manage Project button (Fig. 2., above) near the upper-right corner of the screen and the Manage Project menu will appear.
From the Manage Project menu, select Delete Project.
A screen will display asking you to confirm the Delete or Cancel to disregard (Fig. 8).
